Custom Domain name for Blogger

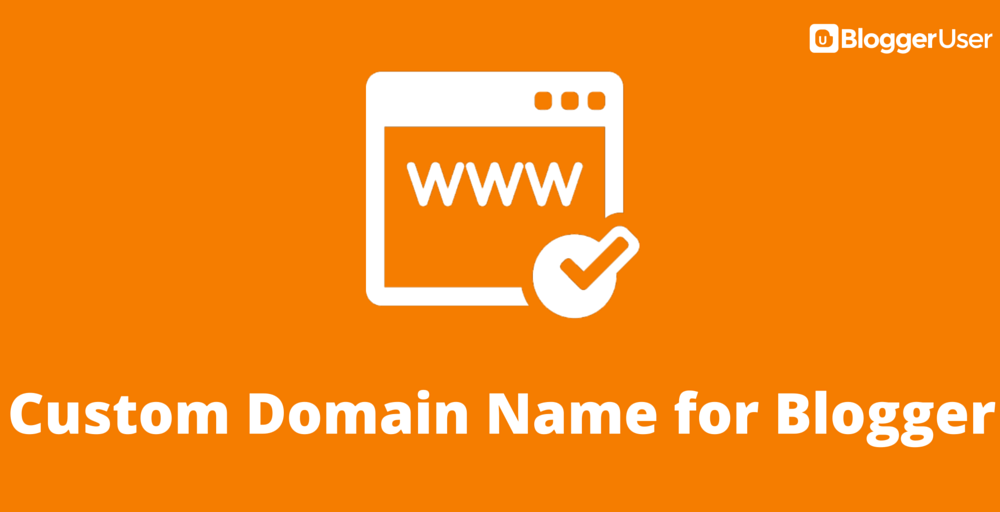
Why you need a Custom Domain for Blogger Blog

You heard that right – buying a custom domain name for your blog is the best investment you can make in your blogging career.

A year ago when I started this blog, the first thing I did was find a suitable domain for my blog. I wanted to make this site for blogger users and so Bloggeruser.com was really appealing to me.

I quickly bought the domain name with few clicks, thanks to domain registrar Godaddy. I then configured the domain to point to Blogger and made it work with the blogger hosting. For some websites in the past, I went through the default option of buying the domain name through blogger itself (Which I don’t really recommend now).

So, yes I am suggesting you to seriously consider getting a custom domain name for your blog. Well, it’s not that there’s anything wrong with the default .blogspot.com but why shouldn’t you start considering to build you own name and brand?

There are several popular sites still with the default extension but trust me, it will be the best investment you will ever make in your blogging career. Here’re few more reasons why you should seriously consider buying a custom domain for your blogger blog.

1. Stand out from the crowd

The competition in blogging has grown so fierce that you need to have something if you need to stand out from the crowd. Blogger being a free service and easy to install, many have started using it for some unfair practices. I mean the spam is growing so rapidly that most of the blogs under that domain are just created for manipulating search engine. So, your domain will make you stand out from the crowd and add some credibility.

2. Your blog owner is Google, NOT you

Yeah, you don’t own that domain. Google owns. Of course you use it, you just have right to use it. Did you go through the Blogger’s ToS? They clearly mention that only the content you write is owned by you, and the platform is the sole property of Google. How this affects is, the blog is not in your hands completely and someday if you happen not to abide by their terms of service, they have right to remove your blog without any notice or reason. Won’t this affect all your hard work till now? Think isn’t having your own domain worth?

3. You have wide range of options

If your blog grows and becomes popular, you start looking for more options and beyond the box. That’s when you might go for your own hosting rather than depending on the free Blogger hosting which has limited options in comparison. You domain will finally come in use. You may want to move to some other CMS such as WordPress, (which most of them do) and then the same domain on which you worked for years will come in use and will have same authority with added flexibility.

There are several other advantages of getting your own domain name but I wanted to write this post just to inspire you to go for your first domain if you haven’t got any.

Update: If you are in the United States or have access to Google Domains, Google has made it really easy to buy and configure domains with Blogger. Learn more about buying and setting up custom domains for blogger here.

google-plus-button blogger

Google Buzz Share Button Widget for Blogger

Update: Google Buzz has been discontinued. Please use Google Plus Page badges instead.

Your Google Mailbox has got Google Buzz, so why shouldn’t your blog have it? Of course, your blogger blog needs to have this Google Buzz option. Blogger officially tried to include the Google Buzz into blogger blogs by adding the new feature of Sharing into Google Buzz and that by integrating into the share button of Blogger. But I know you may not be using that blogger Navbar for sharing or just you want the cool Google Buzz share Button Widget in your blog. Ok so in this post, I will help you to get that cool and colourful Google buzz button in your blog.

Read More

Related Posts Widget for Blogger

Related Posts Widget with thumbnails for Blogger

Are you looking to increase page views of your blog? This should be a must have widget for your blogger blog. Related Posts with thumbnails is not just one more related posts widget. This widget really looks good with the content and thus adds something worth to the overall design of your template. It helps your readers to go through the similar posts they were reading and so helps to decrease your bounce rate by increasing page views. Wow! Both design and better functionality at same time.

In this post we will go through the steps of adding the Related Posts Widget with thumbnails for Blogger. Ready to add to your template? Go through the steps below.

Adding Related Posts widget for Blogger with Thumbnails

1. Go the Blogger Dashboard and Navigate to the Layout button of your template.

2. Go to the Edit Html of your Blogger Template.

4. Now look for

  </head> 

and ABOVE the code; copy the following code.

<!--Related Posts with thumbnails Scripts and Styles Start-->
<!-- remove --><b:if cond='data:blog.pageType == &quot;item&quot;'>
<style type="text/css">
#related-posts {
float:center;
text-transform:none;
height:100%;
min-height:100%;
padding-top:5px;
padding-left:5px;
}

#related-posts h2{
font-size: 1.6em;
font-weight: bold;
color: black;
font-family: Georgia, &#8220;Times New Roman&#8221;, Times, serif;
margin-bottom: 0.75em;
margin-top: 0em;
padding-top: 0em;
}
#related-posts a{
color:black;
}
#related-posts a:hover{
color:black;
}

#related-posts  a:hover {
background-color:#d4eaf2;
}
</style>
<script type='text/javascript'>
var defaultnoimage="http://1.bp.blogspot.com/_u4gySN2ZgqE/SosvnavWq0I/AAAAAAAAArk/yL95WlyTqr0/s400/noimage.png";
var maxresults=5;
var splittercolor="#d4eaf2";
var relatedpoststitle="Related Posts";
</script>
<script src='http://blogergadgets.googlecode.com/files/related-posts-with-thumbnails-for-blogger-pro.js' type='text/javascript'/>
<!-- remove --></b:if>
<!--Related Posts with thumbnails Scripts and Styles End-->

5. Now find the below Code in your template. Remember easy way to locate codes if by using the Find option (ctrl+F) and copy pasting the code.

<div class='post-footer-line post-footer-line-1'>

or

<p class='post-footer-line post-footer-line-1'>

6. After you have located those codes, copy the following code and add it AFTER the code.


<!-- Related Posts with Thumbnails Code Start-->
<!-- remove --><b:if cond='data:blog.pageType == &quot;item&quot;'>
<div id='related-posts'>
<b:loop values='data:post.labels' var='label'>
<b:if cond='data:label.isLast != &quot;true&quot;'>
</b:if>
<script expr:src='&quot;/feeds/posts/default/-/&quot; + data:label.name + &quot;?alt=json-in-script&amp;callback=related_results_labels_thumbs&amp;max-results=6&quot;' type='text/javascript'/></b:loop>
<script type='text/javascript'>
removeRelatedDuplicates_thumbs();
printRelatedLabels_thumbs(&quot;<data:post.url/>&quot;);
</script>
</div><div style='clear:both'/>
<!-- remove --></b:if>
<b:if cond='data:blog.url == data:blog.homepageUrl'><b:if cond='data:post.isFirstPost'>
<a href='http://www.bloggerplugins.org/2009/08/related-posts-thumbnails-blogger-widget.html'><img style="border: 0" alt="Related Posts Widget For Blogger with Thumbnails" src="http://image.bloggerplugins.org/blogger-widgets.png" /></a><a href='http://www.bloggerplugins.org/' ><img style="border: 0" alt="Blogger Widgets" src="http://image.bloggerplugins.org/blogger-widgets.png" /></a>
</b:if></b:if>
<!-- Related Posts with Thumbnails Code End-->

Widget Configuration

To change the widget’s default configuration, you need to edit the following lines for respective settings.
1. To change the total no of posts displayed in your blog posts, Edit the following line of code.

var maxresults=5;

2. To Edit the title of the widget, change the following line of code.

var relatedpoststitle="Related Posts";

3. To edit the default thumbnail (the image which is displayed when no image is there in your post), edit the following line of code.

var defaultnoimage="http://1.bp.blogspot.com/_u4gySN2ZgqE/SosvnavWq0I/AAAAAAAAArk/yL95WlyTqr0/s400/noimage.png";

4.To Change the Colour of the Splitter Line , edit the following code.

var splittercolor="#d4eaf2";

You can make additional changes according to your need. This plugin was developed by Aneesh from Blogger plugins. Thanks to him for developing a really useful widget.
Are you using this widget or did you run into any problems with the widget ? Let us know in the comments below.

Better Post Preview Options in Blogger in draft

Here comes a good news for all Blogger users! Blogger in draft has added a better preview option in our editing framework of blogger. But yes, it’s still in blogger in draft. You need to go to Blogger in Draft Dashboard (http://draft.blogger.com) and need to create a post from there.

What’s really the change?


Preview Button in Blogger in Draft

The older version of preview used to show just the miniature preview with the formatting options applied and now the newer version actually allows you to preview the post directly in your blog along with the template you have applied. (Yes, similar to the WordPress feature.) I know most of you play with your WYSIWYG editor and want to preview it lot of time before you click on the “Publish Post” button.

This feature will actually help you to see how your ongoing post is going to look with your blogger template (along all your styles if used) and thus blog. Did you see that Preview icon band on the side of your blog? See the screenshot below to see how this post looked in preview with blogger.

Better Preview for Blogger Blogs

Okay, one more thing before you go and start using this feature.

You need to refresh the page or click on the”preview Button again if you changed the content. Basically, it means, the page won’t refresh automatically. Blogger In draft did let us know about the new feature with its new blog post. Do you try the blogger feature before they are released ? Are you going to try this one ?

Error: Please enter a valid email address

Error: Invalid email

Error: Please enter your first name

Error: Please enter your last name

Error: Please enter a username

Error: Please enter a password

Error: Please confirm your password

Error: Password and password confirmation do not match